Step-by-Step Tutorial
- ESTIMATED TIME: 6-8 Minutes
- NUMBER OF STEPS: 10
- DIFFICULTY LEVEL: Easy
NOTE: Before starting this tutorial you must install E2pdf from the WordPress plugin repository.
Create a E2Pdf Template with the WordPress PDF Editor
Follow the tutorial below to create a PDF certificate in WordPress with the integrated PDF document and form editor in E2Pdf.
-
From the WordPress Dashboard, go to ‘E2Pdf' → ‘Templates'
-
Click the Add New button at the top of the page.
-
Give your new PDF Template a Title, select the page size and select the text presets.
- * Presets will be the default settings for each new PDF element.

-
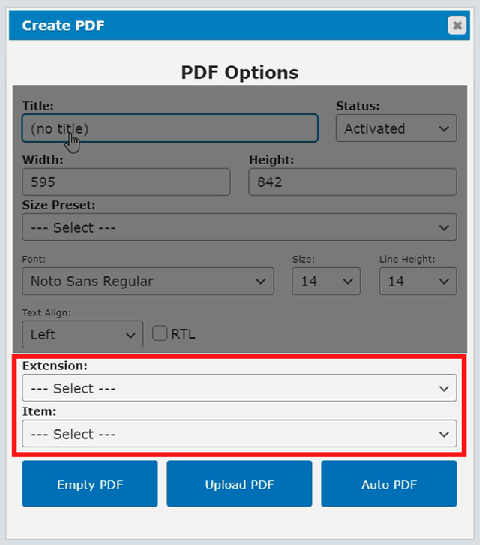
Select the form plugin Extension and the webform Item that will submit the user data.
- *To auto-create the webform, select Auto Form from PDF from Item. (read more)
-
Click the Empty PDF button at the bottom of the dialog box.
-
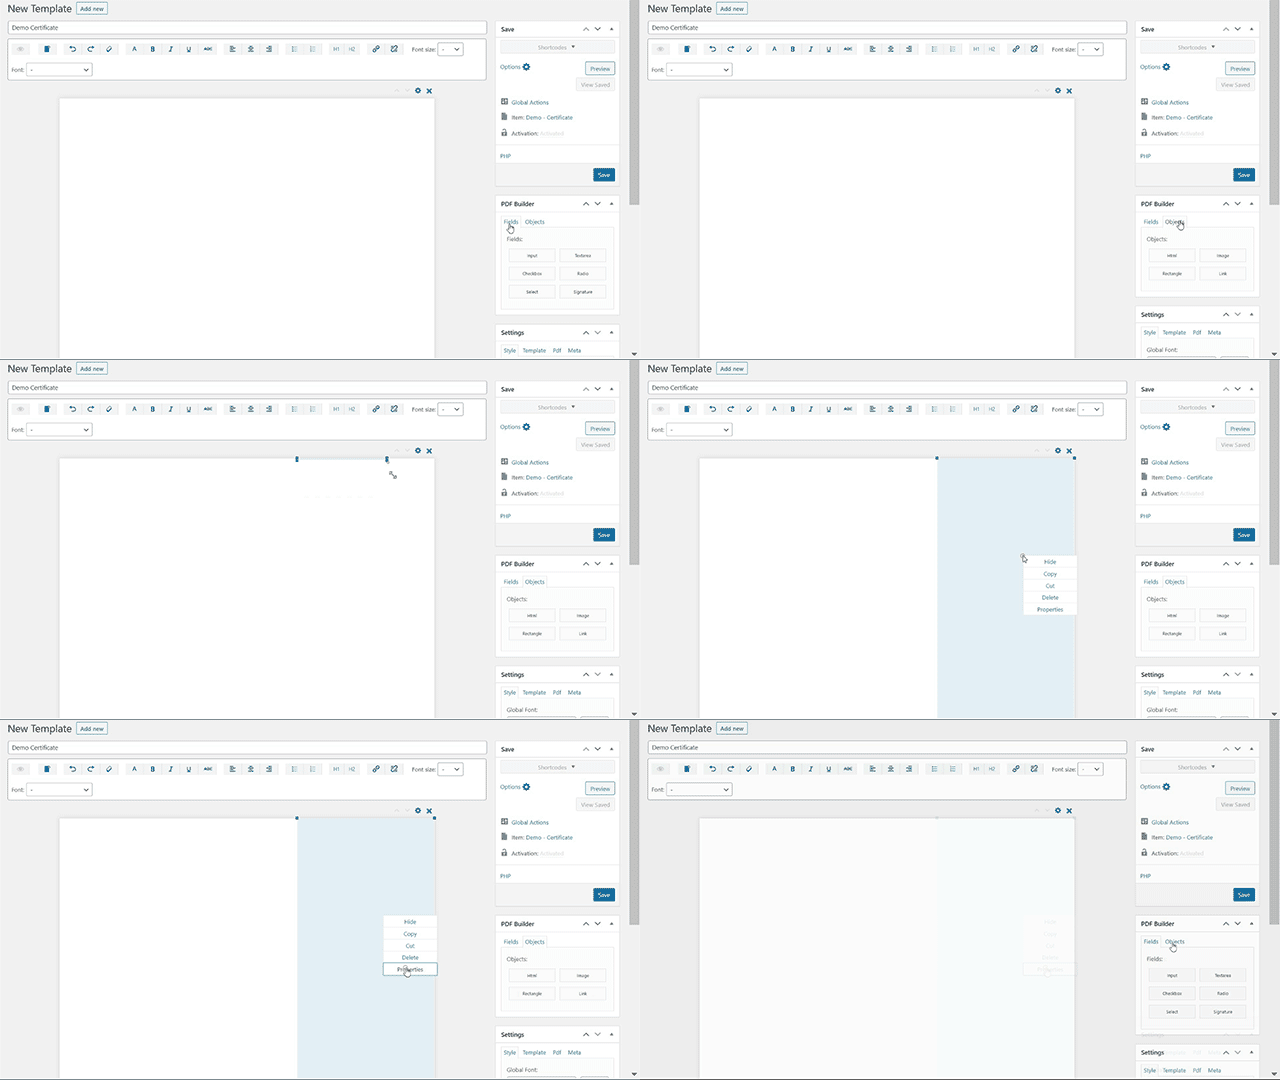
Drag, drop and resize the PDF form Fields and document Objects, as needed.
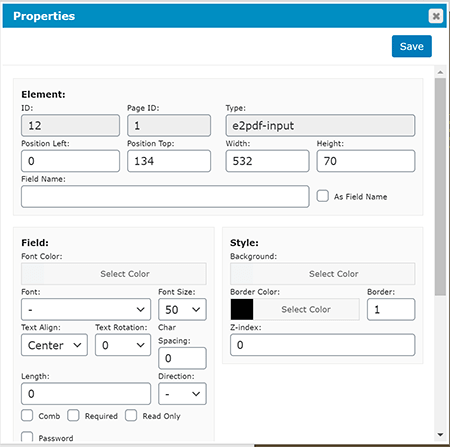
- NOTE: Right-click (or ctrl-click for Mac) to access the element's properties.
-
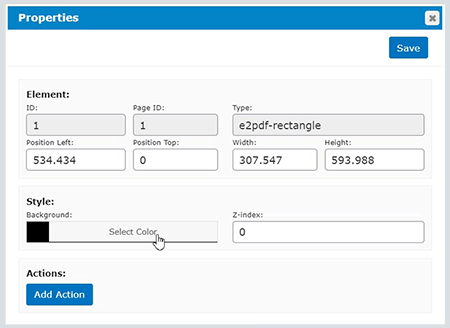
Adjust PDF element color and other properties as needed.
- Tip: To set elements to maximum size , enter 999999 for the width & height properties.
-
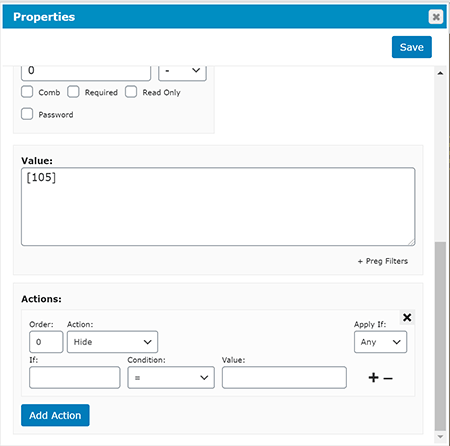
For text based PDF elements, adjust font settings, padding, borders alignments, add default value and add conditional logic actions when needed.
-
Design PDF documents and forms faster using multi-select and the keyboard arrows.
-
TIPS:
- CTRL-CLICK to select and copy several elements.
- CTRL-CLICK the PDF background to reveal the PASTE and PASTE IN PLACE menus.
- Remove elements with the DELETE key.
- Use the keyboard arrows to move selected elements with more precision.

-
-
Send Data from WordPress to the PDF
-
Select your extension demo to continue…
- Caldera Forms
- Divi Contact Form
- Gravity Forms
- Formidable Forms
- Forminator
- WooCommerce
- WordPress (post-data & meta-data)
-


